



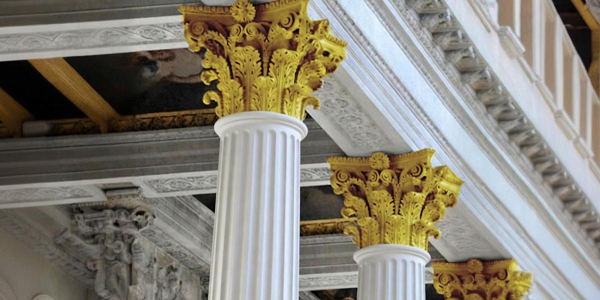
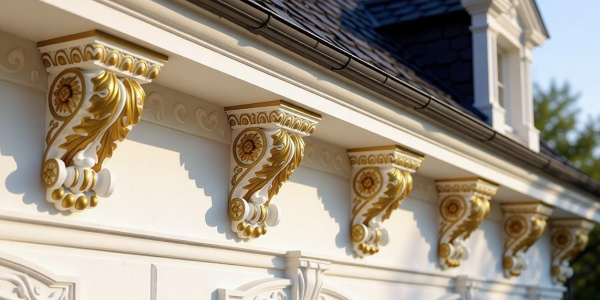
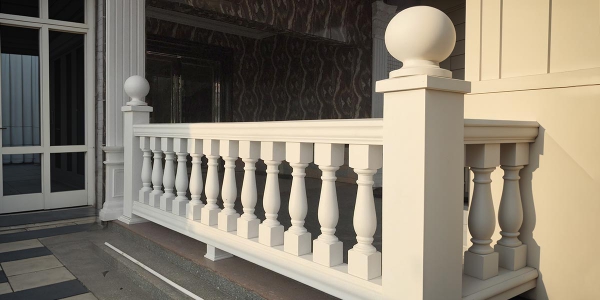

Polyurethane (PU) balustrade systems are an excellent choice for both interior and exterior architectural design. They offer the classic look of stone or wood while being lightweight, durable, and easy to install. In this guide, we’ll walk you through the step-by-step process of installing a PU balustrade system efficiently and professionally.
Tools and Materials You’ll Need
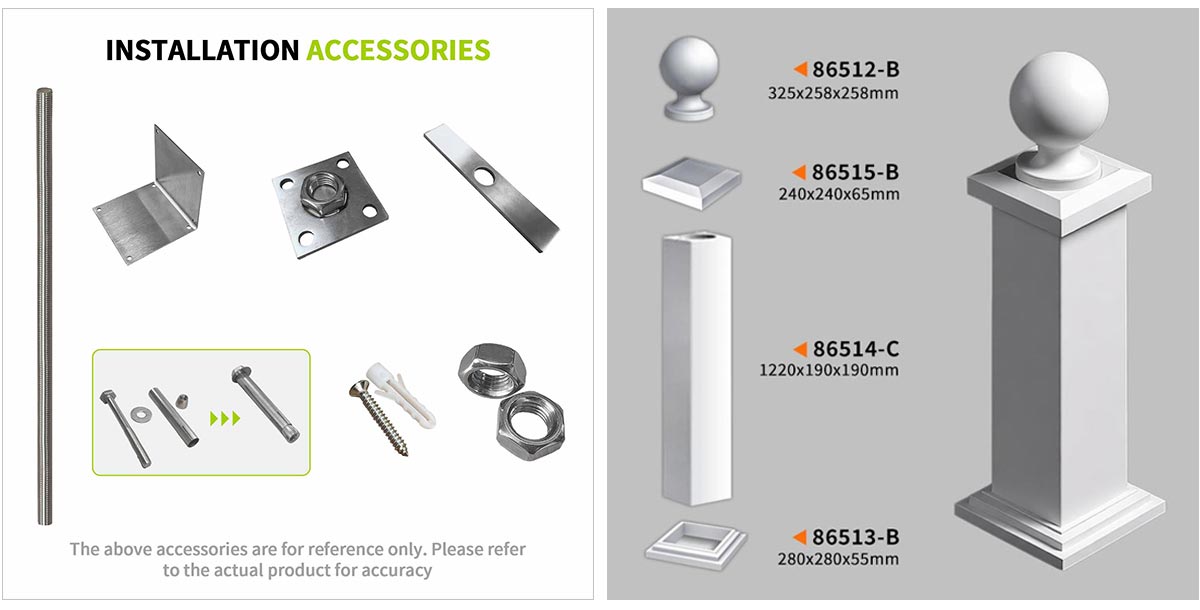
Before starting the installation, make sure you have the following tools and materials ready:
✔ PU balusters (spindles)
✔ Top rail and bottom rail
✔ PU newel posts/column
✔ Construction adhesive
✔ Screws and anchors
✔ Drill and screwdriver
✔ Measuring tape
✔ Level
✔ Saw (fine-tooth recommended)
✔ Sandpaper
✔ Caulking gun
Step 1: Measure and Plan
Accurate measurement is the foundation of a successful waterproof PU baluster installation.
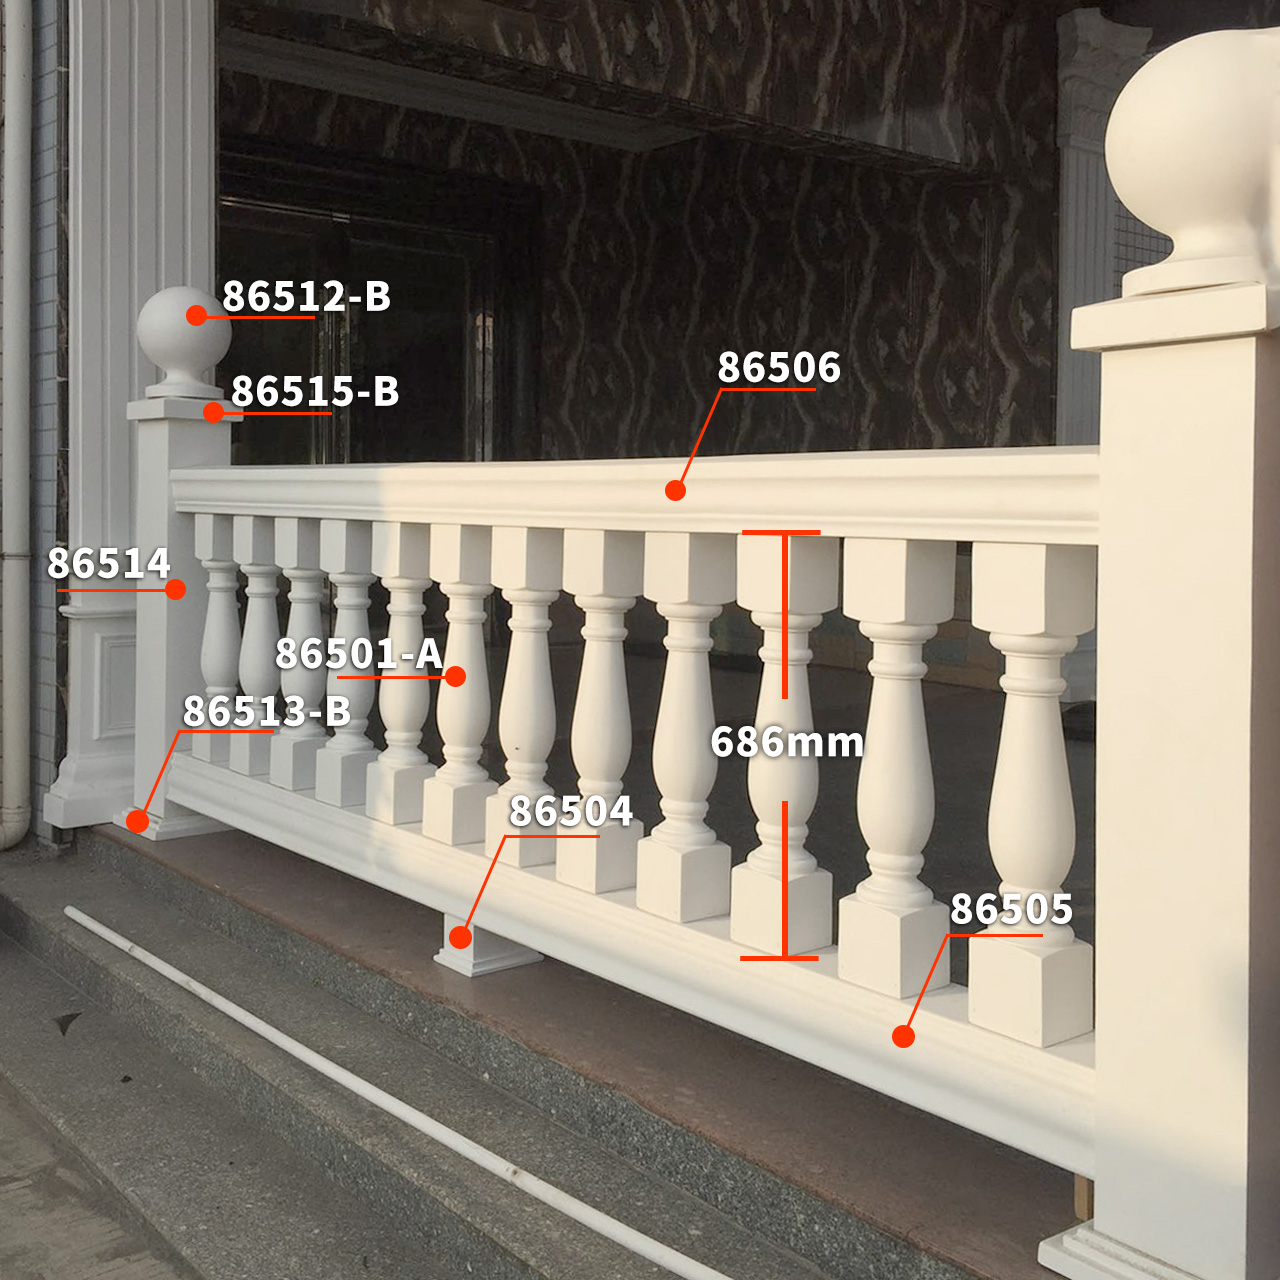
● Measure the total length where the balustrade will be installed
● Determine the spacing between balusters (typically around 4 inches apart for safety standards)
● Mark the position of each baluster on both the top and bottom rails
Tip: Always double-check measurements before cutting any materials.
Step 2: Cut the Rails and Balusters
● Cut the top and bottom rails to the required length
● Trim the balusters if necessary to ensure uniform height
● Sand all cut edges for a clean finish
PU materials are easy to cut, making customization simple and efficient.
Step 3: Install the Bottom Rail
● Position the bottom rail along the marked line
● Use a level to ensure it is perfectly straight
● Secure it with screws and construction adhesive
Make sure the rail is firmly fixed, as it serves as the base for the entire PU balustrade and railing system.
Step 4: Attach the Balusters
● Apply adhesive to the bottom of each baluster
● Insert them into the pre-marked positions on the bottom rail
● Ensure each baluster is vertical using a level
Allow the adhesive to set slightly before proceeding to the next step.
Step 5: Install the Top Rail
● Apply adhesive to the top of each baluster
● Carefully position the top rail over all balusters simultaneously
● Press down firmly and secure with screws
Check alignment to ensure everything is straight and evenly spaced.
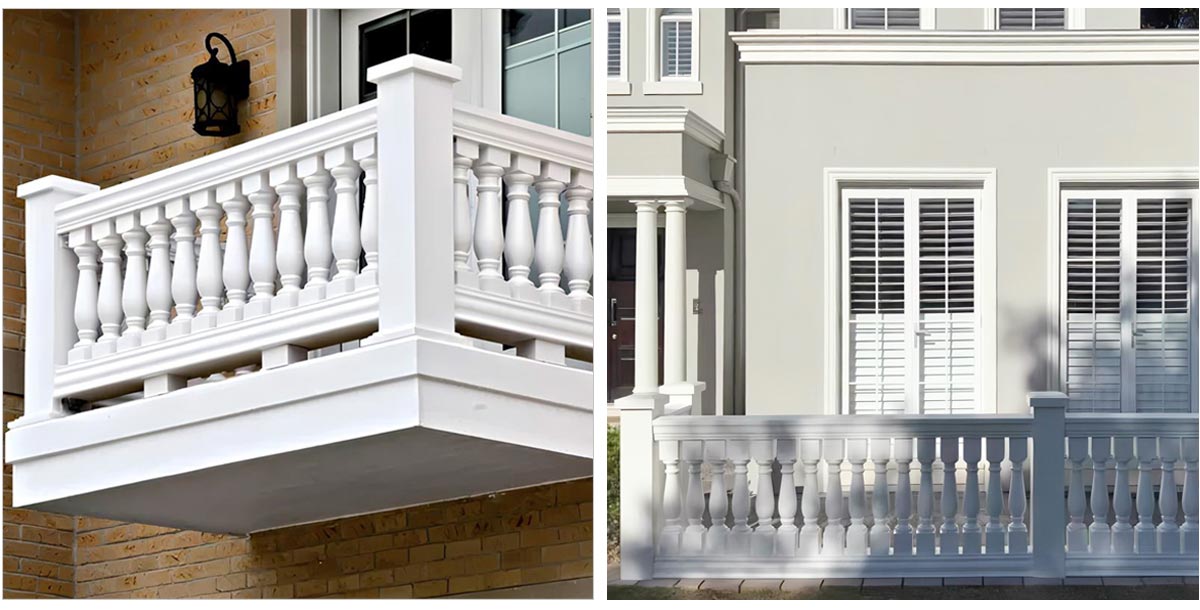
Step 6: Install Newel Posts/column
If your design includes newel posts:
● Secure them at the ends or corners using anchors and screws
● Ensure they are plumb (perfectly vertical)
● Attach rails to the posts for additional support
Step 7: Finishing Touches
● Fill any gaps or joints with caulk
● Sand and clean the surface if needed
● Paint or coat the balustrade system (PU is paint-ready)
Installation Tips
● Always work on a clean, dry surface
● Use high-quality adhesive for long-lasting results
● Pre-drill holes to avoid cracking
● Follow local building codes and safety regulations
Conclusion
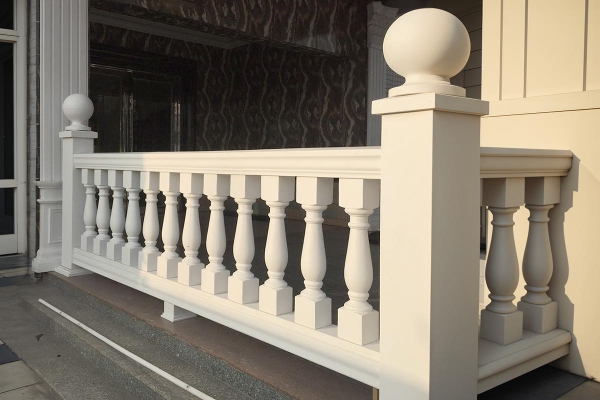
Installing a PU balustrade system is a straightforward process that combines efficiency with aesthetic appeal. Thanks to its lightweight structure and easy handling, PU offers a faster and more cost-effective alternative to traditional materials. With proper planning and installation, you can achieve a durable and elegant architectural feature that enhances any space.
Looking for high-quality PU balustrade solutions? Choose EverWall professional-grade materials Polyurethane (PU) balustrades for superior performance, easy installation, and timeless design.


 Kia Fu
 E-mail
 +8618620000664